1.Introduction ↑ Back to Top
WP Car Rental – Car Rental WordPress Theme
- WP Car Rental Theme has been developed to be used with CRS* plugin, to be purchased separatly at codecanyon.
- WP Car Rental Theme can be used without CRS (booking system) based on contact form 7.
- Published by Inteligencia Web, on June, 2018.
Please read all documentation before installing WP Car Rental Theme.
Main features
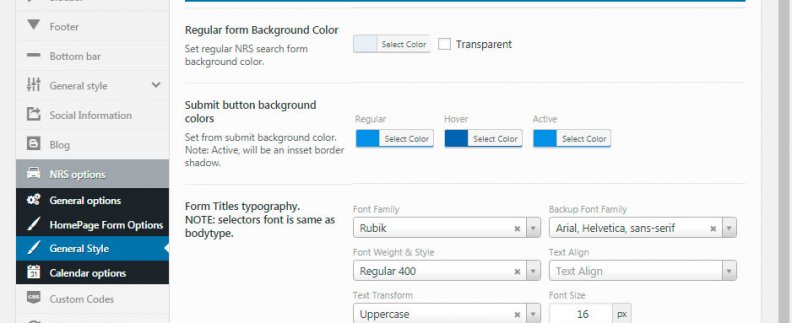
- Style wizard: select theme and CRS colors, logos and typography in seconds
- Full customizable
- Backend calendar view for CRS
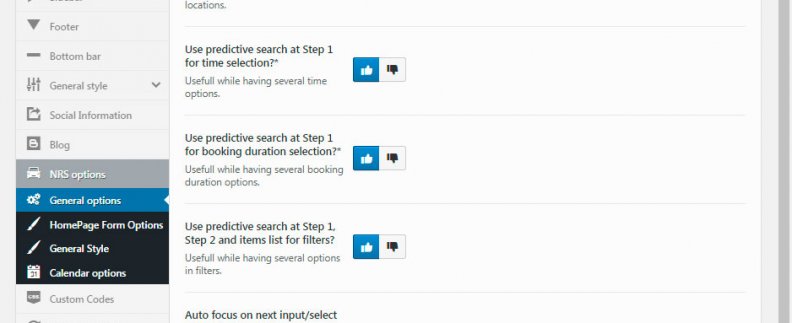
- Predictive search on/off for CRS selectors
- Filters on/off for CRS items list and search results
- CRS improvements
- Visual composer elements
- Widgets
- Bootstrap
- WPML Ready
- SEO ready
Plugin integrations
- Car Rental System
- Visual Composer
- One click demo import
- WPML
2.Theme instalation ↑ Back to Top
If theme will be used with CRS*, please install CRS before installing it, following its instructions.
Perform the following steps:
- Download “All files and documentation” from ThemeForest.net
- Unzip the pack
- Navigate to WP Admin Nav->Appearance->Themes
- Click on “Add new” button
- Upload wp-rentals.zip
- Click on “Add new” again
- Upload wp-rentals-child.zip
- Activate “WP Rentals Child Theme”
If theme will be used with CRS*, please continue the following steps:
- Navigate to WP Admin Nav->Theme Options->CRS Options->CRS Improvements
- Check “Add CRS improvements”, read notes and save settings
3.Plugins ↑ Back to Top
WP Car Rental Theme, requires the following plugin:
- Visual composer – included
WP Car Rental Theme, recommends the following plugins:
- Car Rental System (booking system) – Not included, to be purchased separately at codecanyon
- Contact Form 7 – WordPress repository
- WP Facebook Review Slider – WordPress repository
- One Click Demo Import – WordPress repository
- Wp Car Rental Calendar – Included
- Wp Car Rental – CRS 5.0 Improvements – Included
To install theme recommended and required plugins, please perform the following steps:
- Go to WP Admin Nav->Appearance->Install Plugins
- Install and activate all plugins
Appart of plugins recommended on theme, we recommend the following ones for SEO and backups:
- Cache system: WP Rocket for best paid plugin or WP fastest cache for free solution – WordPress repository
- Backup system: Updraftplus and schedule it to perform a daily db back up – WordPress repository
- Image optimization system: Imagify, it will reduce your site loading time and help your SEO – WordPress repository
- SEO Helper: Yoast SEO – WordPress repository
To install plugin not recommended on the theme:
- Go to WP Admin Nav->Plugins->Add new
- Search for the desired plugin, install it, activate it and follow its instructions.
4.Add demo Content ↑ Back to Top
Before adding demo content, please install and activate all theme required and recommended plugins, by following plugins section instructions.
Demo content can be added in 2 way, first is using One Click Demo Import, and the second is doing it manually.
Using One Click Demo Import
Assuming that “One Click Demo Import” plugin has been installed, navigate to WP Admin Nav->Appearance->Import Demo Data and click on “Import” on the desired demo. All done, Have fun!
Doing it manually
After installing all plugins, please perform the following steps to import theme options:
- Open Demos Folder located at downloaded zip file from themeforest
- Select and open the folder of the desired demo
- Open the json file with any file editor and copy its content
- Go to WP Admin Nav->Theme options->Import / export
- Click on “Import from file”, paste the copied content and press “Import”
To import demo content, please perform the following steps:
- Navigate to WP Admin Nav->Tools->Import
- Last item should be “WordPress”, with the option “Install” or “Run importer” if it is already installed. If it is not installed please install it and click on “Run importer”
- Click on “Select file” and select the xml file located at desired demo folder
- Select the desired author for new pages and posts
- Click the checkbox “Import images”
- Click on “Upload file and import” button
To import demo widgets, please perform the following steps:
- Navigate to WP Admin Nav->Tools->Widget Importer & Exporter
- Click on “Select file” and select the .wie file located at the desired demo foler
- Click on “Import widgets”
Finally, to set menu and homepage, please perform the following steps:
- Navigate to WP Admin Nav->Settings->Reading
- Set “homepage” to home and “posts page” to blog
- Navigate to WP Admin Nav->Appearance->Menus
- Add all pages, re-order them as you desire, set it to primary and mobile menu and save changes.
All done, have fun!
To import Car Rental System plugin demo content, please perform the following steps:
- Navigate to Car Rental->Settings->Demo Tab
- Select “Standard Live Demo” and press import
5.Style Wizard ↑ Back to Top
As theme options has over 500 “options”, we simplified intial setup by adding the following features:
- Color Scheme:
- Go to WP Admin Nav->Theme Options->General Style->Color Scheme
- Select primary and secondary color
- Check the option “Apply colors to hole site?”
- Save changes
- Typography:
- Go to WP Admin Nav->Theme Options->General Style->Typography
- Set body and h1 font style
- Check the options:
- “Set Body font style for the hole site except for H tags and page titles?”
- “Set H1 font style for all H tags and page titles?”
- Save changes
- Logos (optional as might want diferent logos for each section):
- Go to WP Admin Nav->Theme Options->Header & Menus->Main Header
- Set Main and Retina Main Logo
- Check the option “Set Actual Logos For Mobile Header & Bottom Bar?”
- Save changes
- Links colors (optional, as it is also modified by color scheme wizard):
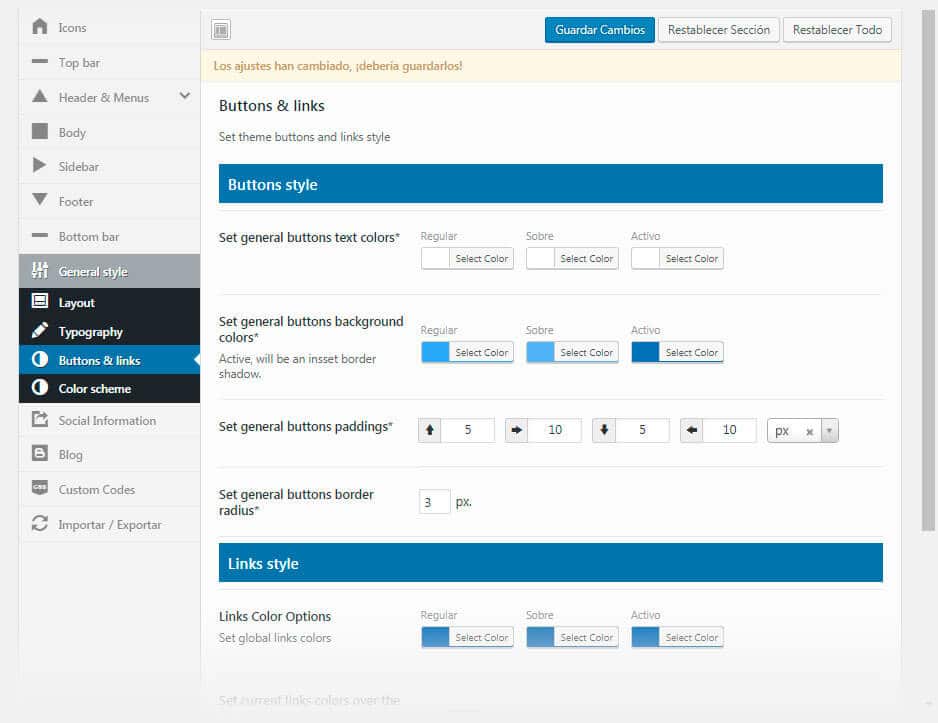
- Go to WP Admin Nav->Theme Options->General Style->Buttons & Links
- At “Links Style” set Links regular, hover and active colors
- Check the option “Set Current Links Colors Over The Hole Site?”
- Save changes
Any option can be modified independently before or after wizard.
6.Theme Options ↑ Back to Top
With more than 500 options, user will probably reach any design without coding knowlege. After saving at any section of theme options, a minified CSS file will be auto generated with the new style. For inital setup, we recommend to use color scheme wizard before modifying regular options.
Icons
Set site icons for all sizes. Icons are not required, but we recommend to upload at least “Favicon (16×16)” and “Big favicon (32×32)”. It will also help your SEO.
Top Bar
Select if show or not top bar, plus its content defined at “social informations tab” and style.
Posible content:
- Social networks
- Phone
- Address
- Email Address
- Opening hours
- Language selector: It needs WPML installed and active, plus have translated content to be showed
- Log in form
- Custom field
Header & Means
As header & Menus are a really important part of the site, we added several options to set its design, divided in 6 sections:
- Main header
Set main logo and its position between left and right, plus header style. If the option “Set Actual Logos For Mobile Header & Bottom Bar?” is selected before saving, logos will be copied to mobile and footer section. - Main Menu
Set main menu options and style. - Sub Menu
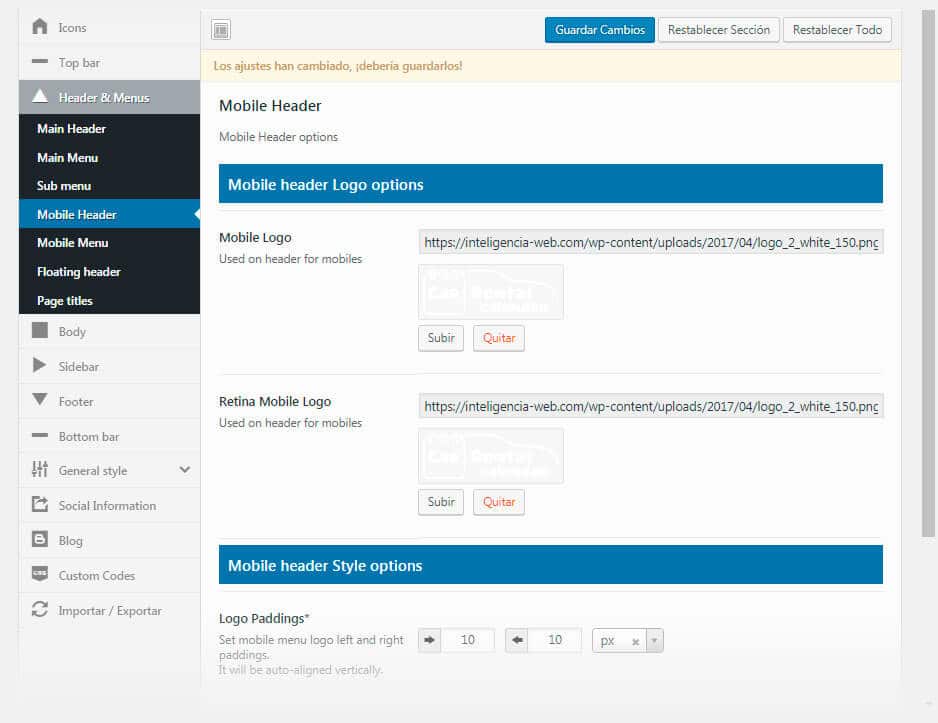
Set sub menu style. - Mobile Header
Set mobile header logo and style. - Mobile Menu
Set mobile menu style. - Floating Header
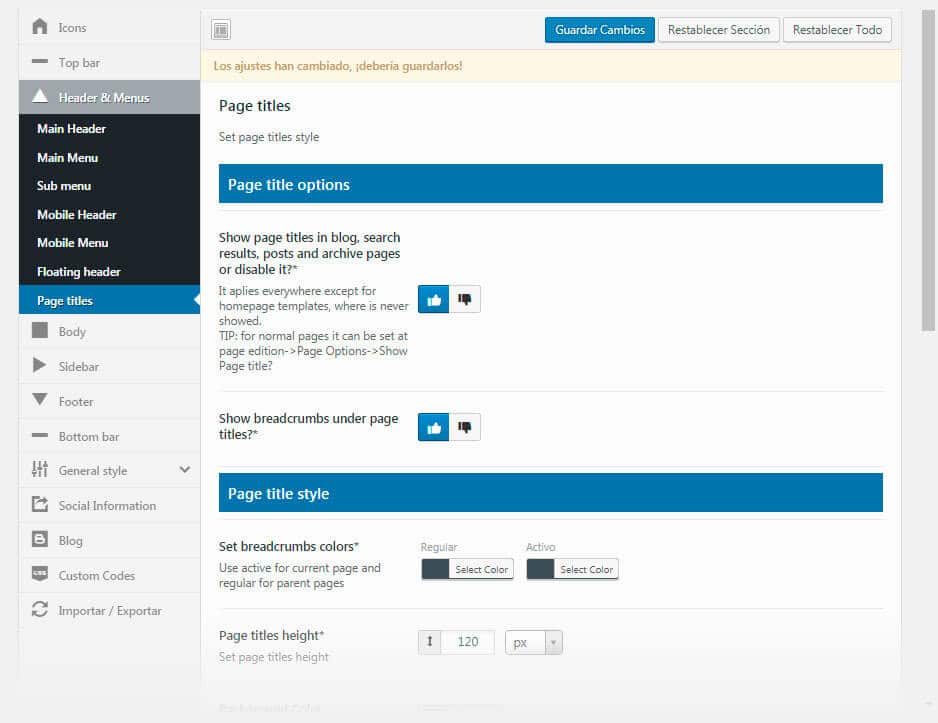
Set floating header mode and scale on/off. - Page titles
Set page titles options and style.
Body
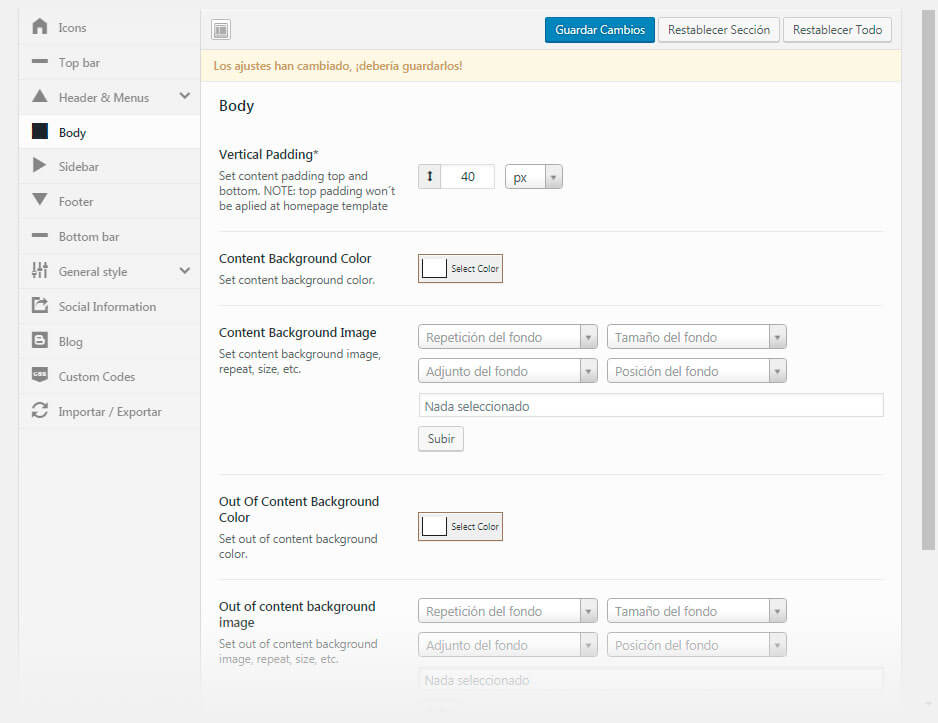
Set body background color, images and paddings.
Sidebar
Set global sidebar options and style. On single page edition, is posible to select sidebar position.
Footer
Set footer options and style. With the posiblity to set columns quantity.
Bottom Bar
Set bottom bar options, logo and style. For “Terms & conditions” page, we added the posibility to set plugin “Terms & conditions” page for ease usage.
General Style
General Style is divided in 4 section:
- Typography
Set theme typography independently or globally. - Buttons & Links
Set buttons and links style. - Color Scheme
Set theme primay and secondary colors. Some parts of the site as fancy title underline will use secondary color.
As for SEO reasons is not good to add inline css, we added the following css classes for proper usage:
- .primary_color and .secondary_color for primary and secondary color
- .primary_color_background and .secondary_color_background for primary and secondary background color
- .white and .black to set its colors
- .align_center, .align_left, .align_right, to align texts
- .no_padding, .no_margin, to set margin or padding to 0
See “Color Scheme section” for wizard detailed information.
Social Information
Set company information and social networks. Information added here will be used at top bar if active or widgets if added.
Blog
Set blog options.
Home page form options
Options to customize the template called “Homepage (With CRS search form)” or “Homepage (With Contact Form 7)”, to be able to select form action page, slider images and options, styling and more.
Custom Codes
Add custom codes as CSS, JS or HTML on header, footer or disable it.
Import/export
Import/export theme options.
7.CRS Theme options ↑ Back to Top
We added several options for CRS* to reach the desired style and functionality, divided in 4 sections:
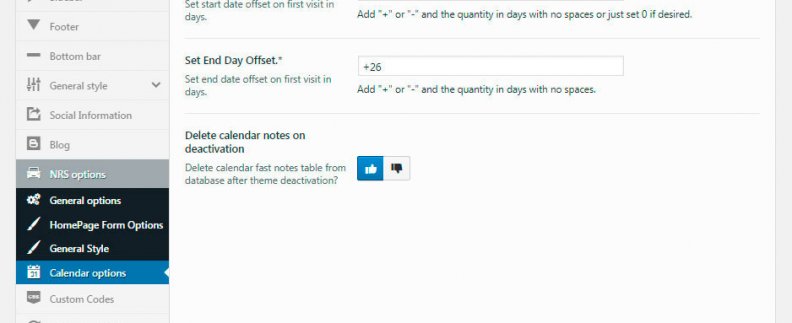
CRS Backend calendar options
Backend calendar options, see backend calendar view section for detailed information
CRS Improvements
Add CRS Improvements over the folowing features:
- Child theme compatibility
- Booking updates
- Location id database saving
- Hourly pricing
- Paypal Notifications
- Extra discounts
- Hourly pricing
- Cars calendar
8.Backend Calendar View ↑ Back to Top
WP Rentals Theme offers an exclusive backend calendar view for Car Rental System Plugin with the following features:
- Search by date and filters
- Search by booking code
- Link to direct booking edition
- Link to booking details
- Add non-booked items, to include available ones on results
- Add a fast note to the booking, just by typing it
- Dragable content with top bar dates and items fixed on top and side, to be able to always know where you are
- Booking information
- Responsive
At the moment, backend calendar view works per item, but on next updates we will add an option to select between “per item” (usefull for single item reservations site) or “per reservation” (usefull for multiple item reservations site).
9.Page Options ↑ Back to Top
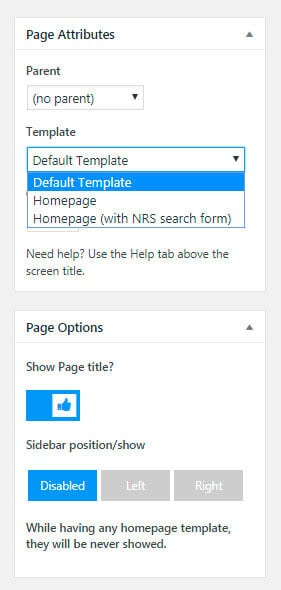
At single pages, you will find the following options:
- Page title: yes/no
- Sidebar options: left, right, disabled
- One page site: Yes/no, used for auto activate menu items on section focus
- Templates:
- Default: used for regular pages
- Homepage: used for home page to prevent page title and body top padding. booking form can be added in the content from visual composer elements, as it is done on the demo on the secondary home page versions.
- Homepage (with CRS Search form): used to be able to add form demo style, to be customized from theme options. See CRS Theme options
- Homepage (with Contact From 7): used to be able to add form demo style, to be customized from theme options. See CRS Theme options. If selected, a new option will appear, to set the contact form to use.
10.Contact Form 7 ↑ Back to Top
Read this section if WP Car Rental theme will be used using Contact Form 7 for booking request, instead of Car Rental System Plugin for booking system.
We highly recommend to import demo data, as forms will be imported. Once is done, forms can be edited at WP admin bar->Contact.
Contact form for homepage booking request can be added in 2 ways:
- Directly in the page content with visual composer or by adding its shortcode.
- Using the template “Homepage (with search form)”. Set plugin usage to contact form 7 and set desired style and options at Theme options->Homepage form options. Then select on page edition the desired form. Desired form is selected on page edition to give the posibility to set one per language.
11.Widgets ↑ Back to Top
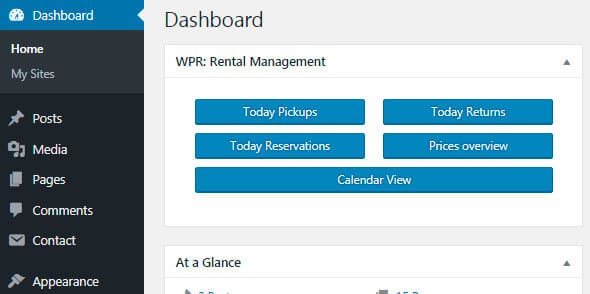
Dashboard Widget
WP Rentals Theme offers an exclusive dashboard widget to fast and easy access to the most important pages of a rental system.
Footer/Sidebar Widgets
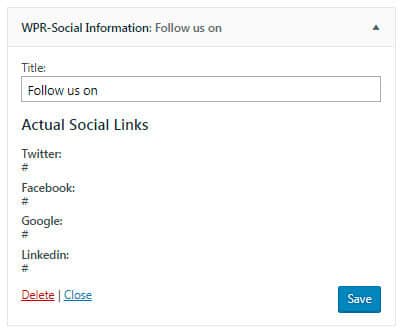
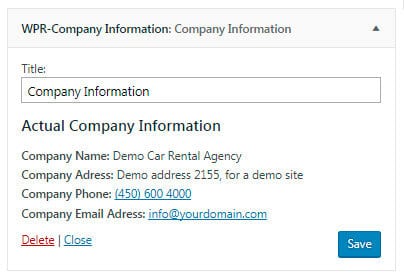
Two Available widgets, which pulls data set at social information tab, as top bar, to be able to set all data at once:
- Social information
- Company information
NOTE: Contact information at contact page, needs to be modified manually by editing its page content.
12.Visual composer ↑ Back to Top
Added 3 elements at Visual Composer:
- NRS shortcodes – Including all plugin templates with lot of options.
- Fancy title
- Stat counter
NRS* shortcodes
All NRS shortcodes possibilities are added with extra features as autoplay, items quantity per window size, navigation on/off, and much more.
NOTE: NRS shortcodes that are a slider wont work if they are not added with visual composer.
Fancy title
Add an underlined title and set its alignment. Underline color will be secondary theme color.
Diagonal end
Add a diagonal end where you desire by selecting the orientation, degrees and color.
Stat counter
Add a counter based on exisisting quantity of bookings, cutomers, items, extras or locations, with the posibility to add a base quantity,
13.WPML ↑ Back to Top
WP Car Rental Theme is WPML ready. To add the language selector at top bar, please install and activate WPML and activate the language selector option at top bar theme option. Optinally, modify the default layout, with the options: flags, dropdown, inline. If active, it will be automaticly added to the bottom of the mobile menu in flags mode.
NOTE: Selector will be showed just if there is an existing translated content.
14.Theme Status/Update ↑ Back to Top
Theme Status
To check theme status, please navigate to WP Admin Nav->Theme Options->Theme Status. On this page you will be able to see your actual theme version and the latest version.
Theme Update
To update the theme, please login here, click on “Instalable file” to download latest version, and perform any of the following actions.
Option 1
- Install and activate Easy Theme and Plugin Upgrades plugin
- Go to WP Admin Nav->Appearance->Themes.
- Click the “Add New” button at the top of the page.
- Click the “Upload Theme” button at the top of the page.
- Select the zip file with the new theme version to install.
- Click the “Install Now” button.
Option 2
- Replace theme folder via FTP with new files.
Once update is finished, please perform the following actions
- Navigate to WP Admin Nav->Theme options and click on “Save Changes”.
- Navigate to WP Admin Nav->Appearance->Install Plugins.
- Update all plugins
15.Video Tutorials ↑ Back to Top
Installation
Style Wizard
Calendar View
Visual Composer
16.Support ↑ Back to Top
Contact support
Contact us via item Support


